Tag: BackendEngineering

  • High Concurrency Handling: What Happens When Thousands of Users Hit Your API at the Same Time?

    High Concurrency Handling: What Happens When Thousands of Users Hit Your API at the Same Time?

    Imagine your application is running smoothly.

    Then your company launches a flash sale.

    Or a marketing campaign goes live.

    Suddenly, thousands of users start sending requests to the same endpoint at the same time.

    The question is no longer:

    “Does my API work?”

    It’s:

    “Can my API still work under heavy load?”

    Handling high concurrency isn’t about a single optimization. It’s about building a system that remains reliable as traffic grows.

    Here are some techniques I rely on.


    1. Avoid Blocking Threads

    In ASP.NET Core, every blocked thread reduces your application’s ability to handle incoming requests.

    Prefer asynchronous APIs whenever possible.

    await repository.GetOrdersAsync();
    

    Using async and await allows the thread to serve other requests while waiting for I/O operations.


    2. Optimize Database Access

    The database is often the first bottleneck.

    Reduce unnecessary work by:

    • Selecting only the required columns.
    • Adding proper indexes.
    • Using AsNoTracking() for read-only queries.
    • Avoiding the N+1 query problem.

    A faster query means every request spends less time waiting.


    3. Cache Frequently Requested Data

    Not every request needs to reach the database.

    Cache data that changes infrequently using solutions such as Redis or the in-memory cache.

    Reducing database traffic significantly improves throughput.


    4. Limit Expensive Operations

    Some endpoints perform CPU-intensive or long-running work.

    Protect your application with:

    • Rate limiting.
    • Background processing.
    • Queues for non-critical tasks.

    This prevents a small number of requests from consuming all available resources.


    5. Use Optimistic Concurrency

    When multiple users update the same record simultaneously, conflicts can occur.

    EF Core supports optimistic concurrency using concurrency tokens such as RowVersion.

    This helps prevent accidental overwrites.


    6. Scale Horizontally

    Sometimes optimization isn’t enough.

    Run multiple application instances behind a load balancer so incoming requests are distributed across servers.

    This increases capacity while improving availability.


    7. Monitor Before You Optimize

    Use tools such as:

    • Grafana
    • Prometheus
    • Application Insights
    • OpenTelemetry

    Measure:

    • Response time
    • Error rate
    • CPU usage
    • Database latency
    • Throughput

    You can’t improve what you don’t measure.


    Final Thoughts

    High concurrency isn’t just about surviving traffic spikes.

    It’s about designing systems that continue to respond quickly, remain reliable, and protect shared resources under pressure.

    Performance isn’t achieved through one big optimization.

    It’s the result of many small engineering decisions working together.

  • CORS in ASP.NET Core: It’s More Than Just Fixing a Browser Error

    CORS in ASP.NET Core: It’s More Than Just Fixing a Browser Error

    I’ll admit something.

    For a long time, whenever I saw this error:

    “Access to fetch at ‘https://api.example.com‘ from origin ‘https://localhost:3000‘ has been blocked by CORS policy.”

    My first reaction was simple:

    “Let me add AllowAnyOrigin() and move on.”

    The application worked.

    The error disappeared.

    Problem solved… or so I thought.

    Later, I decided to understand what CORS was actually doing.

    And I realized something important:

    CORS isn’t a server feature. It’s a browser security feature.

    Your API might happily return a response.

    But the browser blocks JavaScript from accessing it if the request violates the server’s CORS policy.

    That’s why Postman works while the browser fails.


    What Is CORS?

    CORS (Cross-Origin Resource Sharing) is a mechanism that allows a server to specify which origins can access its resources.

    An origin consists of:

    • Protocol (https)
    • Domain (example.com)
    • Port (5001)

    If any of these differ, the browser considers it a different origin.

    For example:

    https://localhost:3000
    

    and

    https://localhost:5001
    

    are different origins.


    Configuring CORS in ASP.NET Core

    Register a policy:

    builder.Services.AddCors(options =>
    {
        options.AddPolicy("FrontendPolicy", policy =>
        {
            policy.WithOrigins("https://localhost:3000")
                  .AllowAnyHeader()
                  .AllowAnyMethod();
        });
    });
    

    Apply the policy:

    app.UseCors("FrontendPolicy");
    

    Avoid This in Production

    .AllowAnyOrigin()
    

    While it’s convenient during development, allowing every origin in production can expose your API unnecessarily.

    Instead, explicitly specify the trusted origins your application should allow.


    Middleware Order Matters

    A common mistake is placing UseCors() in the wrong position.

    A typical pipeline looks like this:

    app.UseRouting();
    
    app.UseCors("FrontendPolicy");
    
    app.UseAuthentication();
    
    app.UseAuthorization();
    
    app.MapControllers();
    

    If CORS isn’t applied at the correct point in the pipeline, the browser may still block requests.


    Final Thoughts

    Today, I don’t configure CORS just to remove an error message.

    I configure it knowing why the browser enforces it and how it protects users.

    Understanding the reason behind a feature is far more valuable than memorizing the code to make an error disappear.

  • Change Tracking in EF Core: What It Is and When Should You Use It?

    Change Tracking in EF Core: What It Is and When Should You Use It?

    One of the most powerful features of Entity Framework Core is Change Tracking.

    It allows EF Core to automatically detect changes made to entities and persist them to the database.

    But while it’s incredibly useful, it’s not always necessary.

    Understanding when to use Change Tracking—and when to disable it—can significantly improve your application’s performance.


    What Is Change Tracking?

    When EF Core retrieves an entity, it keeps track of its original state.

    If you modify one of its properties, EF Core detects the change.

    When you call SaveChanges(), only the modified values are sent to the database.

    Example:

    var product = await context.Products
        .FirstAsync(p => p.Id == 1);
    
    product.Price = 1200;
    
    await context.SaveChangesAsync();
    

    Notice that we never call Update().

    EF Core already knows that Price changed.


    How Does It Work?

    When an entity is loaded:

    • EF Core stores the original values.
    • It monitors property changes.
    • During SaveChanges(), it compares the current values with the original values.
    • Only the necessary SQL UPDATE statement is generated.

    This makes updates simple and reduces boilerplate code.


    When Should You Use Change Tracking?

    Change Tracking is ideal when:

    • Updating existing records.
    • Inserting related entities.
    • Managing relationships.
    • Performing CRUD operations where data will be modified.

    When Should You Avoid It?

    If you’re only reading data, Change Tracking adds unnecessary overhead.

    In those cases, use:

    var products = await context.Products
        .AsNoTracking()
        .ToListAsync();
    

    This avoids tracking every entity and can improve performance, especially for large result sets.


    Change Tracking vs AsNoTracking()

    With Change Tracking

    var product = await context.Products
        .FirstAsync();
    
    product.Price = 1200;
    
    await context.SaveChangesAsync();
    

    ✅ Changes are automatically detected and saved.


    With AsNoTracking()

    var product = await context.Products
        .AsNoTracking()
        .FirstAsync();
    

    The entity is not tracked.

    If you modify it and call SaveChanges(), nothing happens unless you explicitly attach or update the entity.


    Performance Considerations

    Tracking every entity consumes:

    • Memory
    • CPU
    • Change detection time

    For read-heavy APIs or reporting queries, disabling tracking can provide noticeable performance improvements.

    However, don’t disable tracking if you intend to modify the entities afterwards.


    Best Practices

    ✅ Use Change Tracking for create, update, and delete operations.

    ✅ Use AsNoTracking() for read-only queries.

    ✅ Avoid tracking thousands of entities unnecessarily.

    ✅ Understand whether your query needs tracked or untracked entities before optimizing.


    Final Thoughts

    Change Tracking is one of the reasons EF Core makes data updates so convenient.

    But like any feature, it should be used intentionally.

    A simple rule I follow is:

    • Reading data? → Use AsNoTracking().
    • Updating data? → Let EF Core track the entity.

    Choosing the right approach helps you build applications that are both clean and efficient.

  • Monolith vs Microservices: Which Architecture Should You Choose?

    Monolith vs Microservices: Which Architecture Should You Choose?

    One of the most common architecture debates is:

    Should I build a Monolith or Microservices?

    Many developers assume microservices are always the better choice because large companies like Netflix, Amazon, and Uber use them.

    The reality?

    Most applications don’t need microservices on day one.

    Let’s compare both approaches.


    What Is a Monolithic Architecture?

    In a monolithic application, all modules—such as authentication, products, orders, and payments—are part of a single application and are deployed together.

    Advantages

    ✅ Simple to develop and deploy.

    ✅ Easier to debug.

    ✅ Lower operational complexity.

    ✅ Faster to get started.

    Challenges

    • Scaling means scaling the entire application.
    • A bug in one module can affect the whole system.
    • Large codebases become harder to maintain over time.

    What Are Microservices?

    In a microservices architecture, the application is divided into independent services.

    For example:

    • Authentication Service
    • Order Service
    • Product Service
    • Payment Service

    Each service can be developed, deployed, and scaled independently.

    Advantages

    ✅ Independent deployments.

    ✅ Scale only the services that need it.

    ✅ Better fault isolation.

    ✅ Teams can work independently.

    Challenges

    • More complex infrastructure.
    • Service-to-service communication.
    • Distributed logging and monitoring.
    • Data consistency across services.
    • Higher operational cost.

    When Should You Choose a Monolith?

    A monolith is often the better choice when:

    • You’re building a new product or MVP.
    • The team is small.
    • Requirements are still evolving.
    • Deployment simplicity is important.

    A well-designed modular monolith can support significant growth before microservices become necessary.


    When Should You Choose Microservices?

    Microservices become more valuable when:

    • Different parts of the system have different scaling needs.
    • Multiple teams work independently.
    • Independent deployments are required.
    • The application has grown too large for a single codebase.

    Comparison

    FeatureMonolithMicroservices
    DeploymentSingle deploymentIndependent deployments
    ScalabilityEntire applicationIndividual services
    ComplexityLowerHigher
    DevelopmentEasier initiallyMore planning required
    Team CollaborationBetter for small teamsBetter for multiple teams
    InfrastructureSimpleMore complex

    My Rule of Thumb

    • Small to medium applications: Start with a modular monolith.
    • Large, rapidly growing systems with multiple teams: Consider microservices when there is a clear business or technical need.

    Choosing microservices too early can introduce unnecessary complexity.


    Final Thoughts

    Architecture isn’t about following trends.

    It’s about solving the right problem with the right level of complexity.

    A well-structured monolith is often a better choice than poorly designed microservices.

    Start simple, measure your application’s needs, and evolve your architecture when the benefits outweigh the added complexity.

  • 7 EF Core Query Optimization Tips Every .NET Developer Should Know

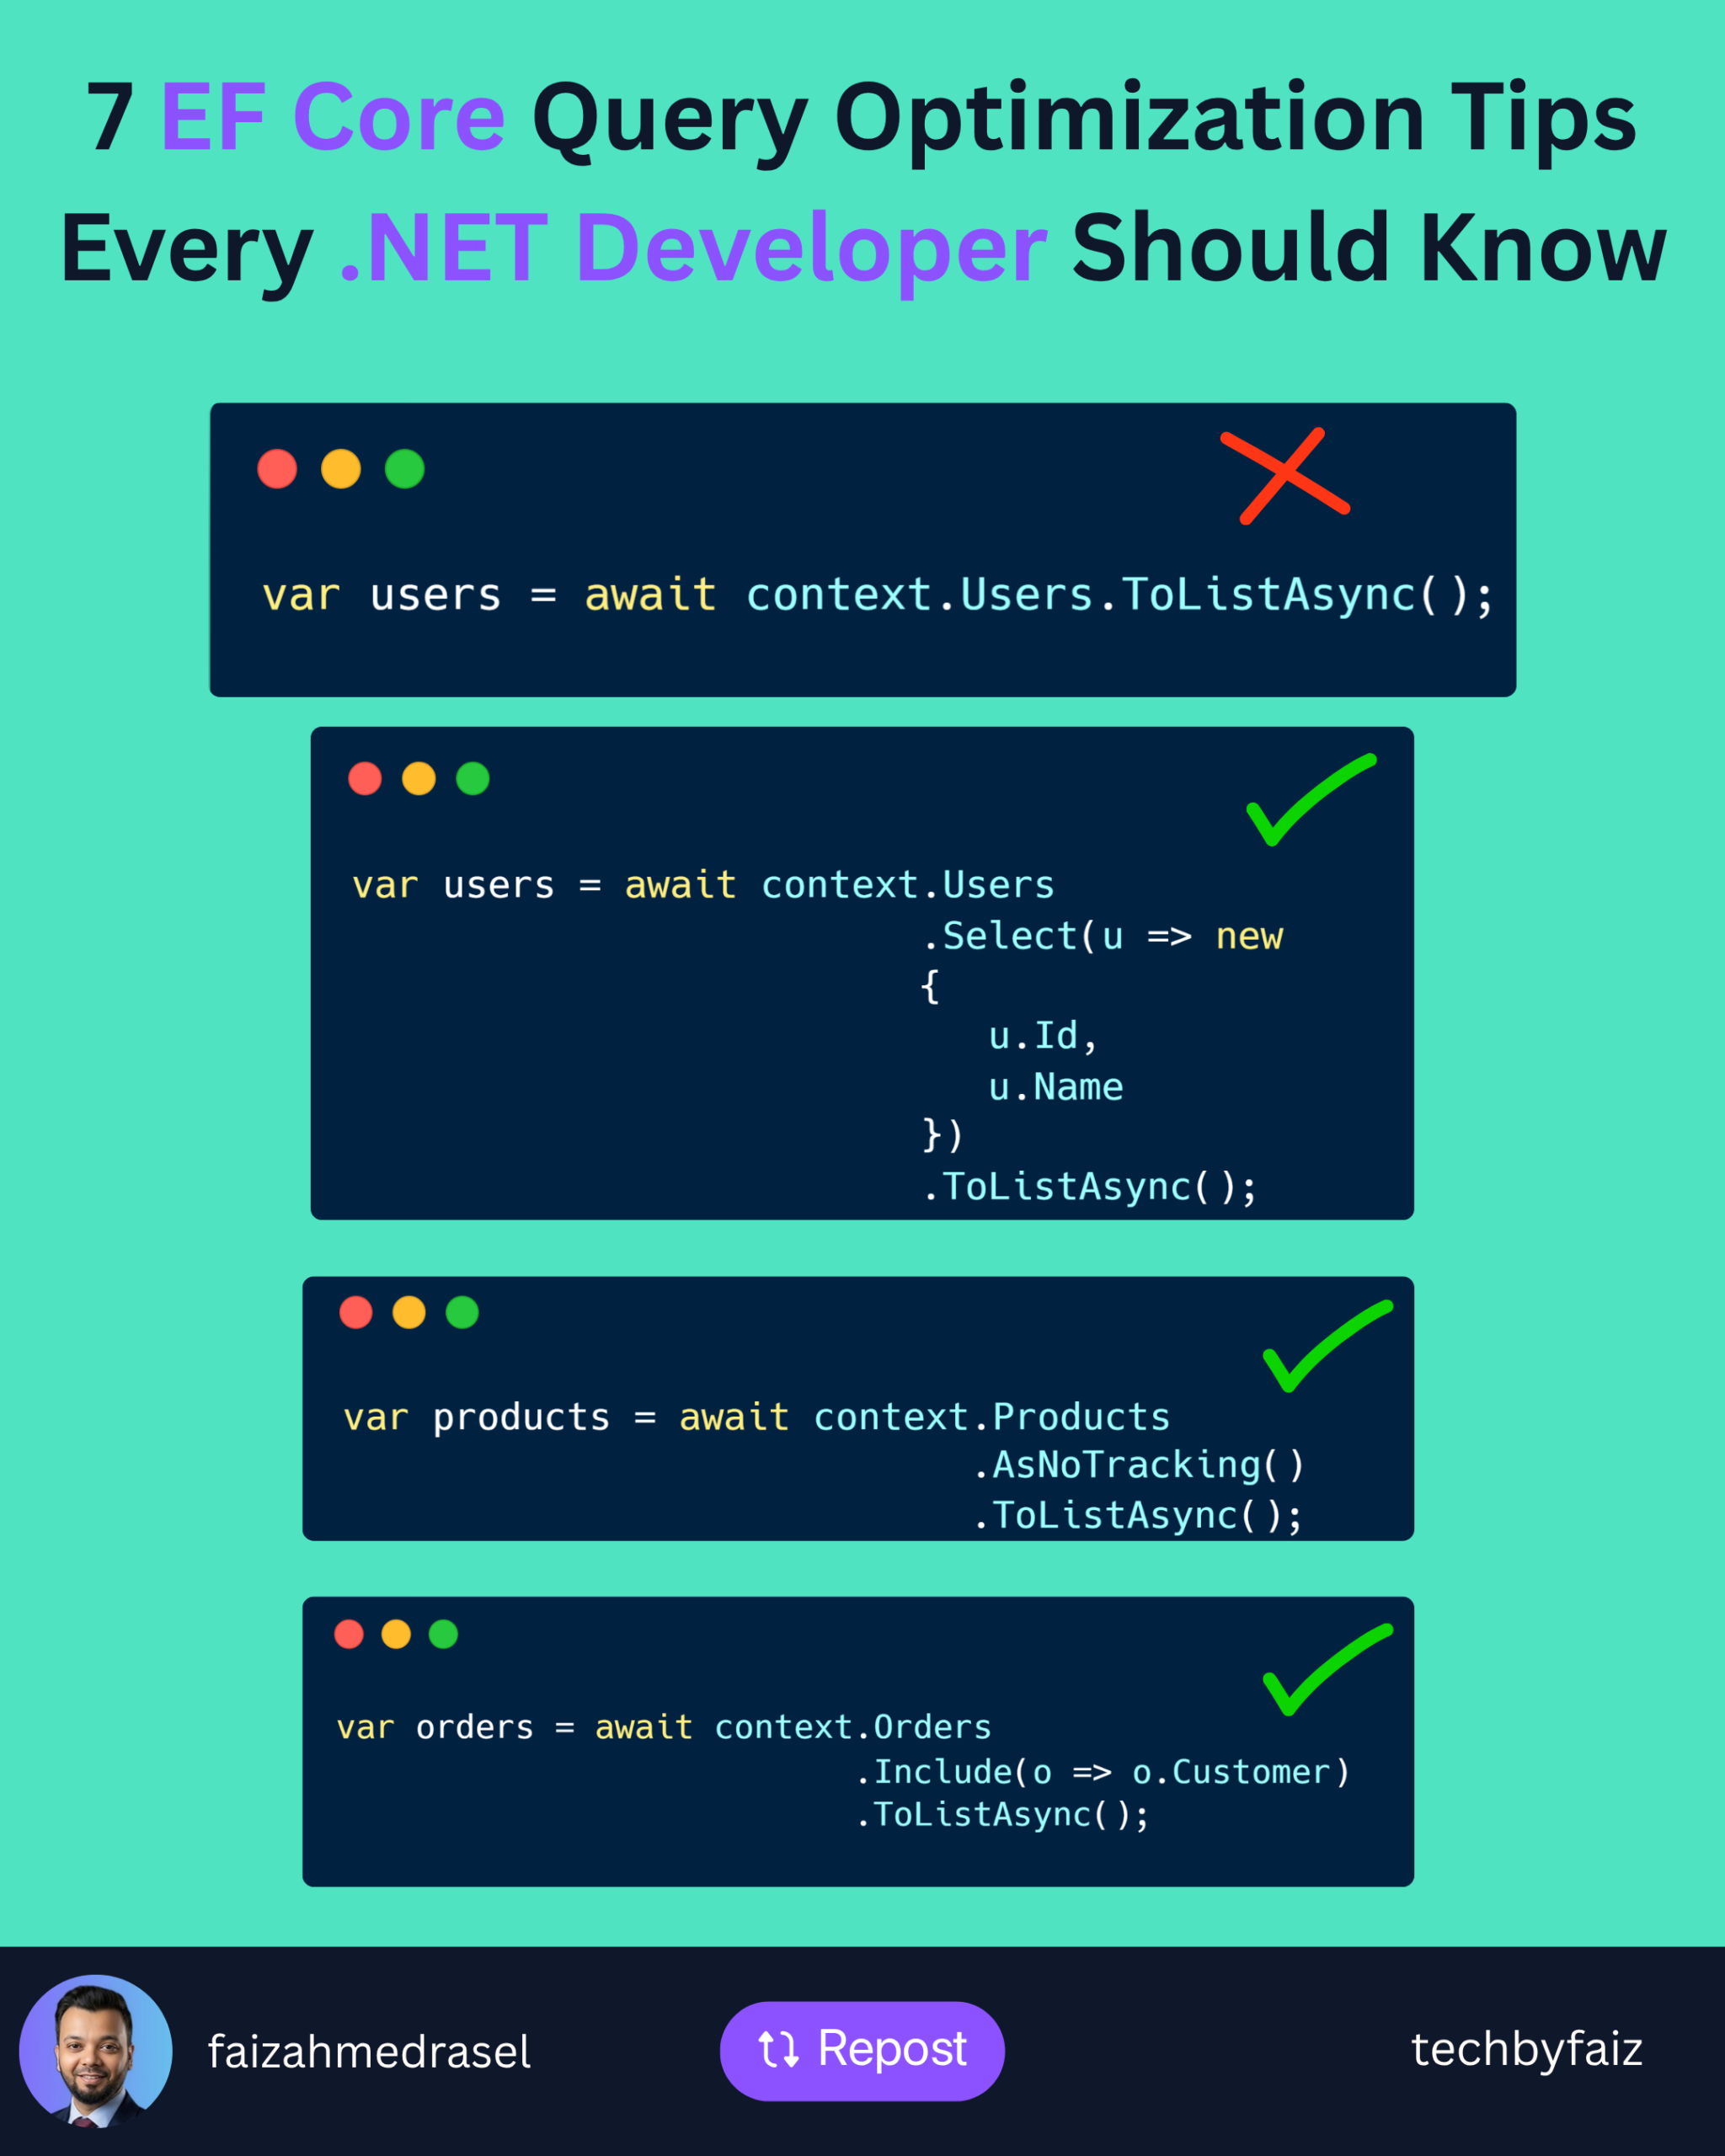
    7 EF Core Query Optimization Tips Every .NET Developer Should Know

    Entity Framework Core makes database access simple, but it’s also easy to write queries that look correct while performing poorly in production.

    As applications grow, inefficient queries can become one of the biggest performance bottlenecks.

    Here are seven practical techniques I regularly consider when working with EF Core.


    1. Select Only the Columns You Need

    Avoid loading an entire entity if you only need a few properties.

    ❌ Less efficient:

    var users = await context.Users.ToListAsync();
    

    ✅ Better:

    var users = await context.Users
        .Select(u => new
        {
            u.Id,
            u.Name
        })
        .ToListAsync();
    

    Fetching fewer columns reduces network traffic and memory usage.


    2. Use AsNoTracking() for Read-Only Queries

    By default, EF Core tracks every entity it loads.

    If you’re only reading data, disable change tracking.

    var products = await context.Products
        .AsNoTracking()
        .ToListAsync();
    

    This can noticeably improve performance for read-heavy operations.


    3. Avoid the N+1 Query Problem

    This is a common performance issue.

    Instead of triggering additional queries for related data, load it efficiently.

    var orders = await context.Orders
        .Include(o => o.Customer)
        .ToListAsync();
    

    Or project only the data you actually need.


    4. Filter Early

    Push filtering to the database.

    var activeUsers = await context.Users
        .Where(u => u.IsActive)
        .ToListAsync();
    

    Don’t retrieve unnecessary rows and filter them in memory.


    5. Paginate Large Result Sets

    Avoid returning thousands of records at once.

    var customers = await context.Customers
        .OrderBy(c => c.Id)
        .Skip(page * pageSize)
        .Take(pageSize)
        .ToListAsync();
    

    Pagination improves both application performance and user experience.


    6. Check the Generated SQL

    EF Core generates SQL for you—but you should still know what it’s executing.

    Use:

    var sql = query.ToQueryString();
    

    Reviewing the generated SQL helps identify unnecessary joins, filters, or inefficient queries before they reach production.


    7. Create the Right Database Indexes

    Even the best EF Core query can perform poorly without proper indexing.

    Frequently filtered or joined columns should be indexed appropriately.

    Remember:

    EF Core generates SQL. SQL Server executes it.

    Database design still matters.


    Final Thoughts

    Optimizing EF Core isn’t about replacing it with raw SQL.

    It’s about understanding how your LINQ queries translate into SQL and ensuring the database performs as little work as necessary.

    A few simple habits can make a significant difference:

    • Project only what you need.
    • Use AsNoTracking() for read-only queries.
    • Avoid N+1 queries.
    • Filter early.
    • Paginate large datasets.
    • Inspect generated SQL.
    • Design proper indexes.

    Small optimizations applied consistently often produce the biggest improvements.

  • I Thought I Understood async/await… Until I Asked One Simple Question

    I Thought I Understood async/await… Until I Asked One Simple Question

    A few days ago, I came across a post explaining async and await in C#. It talked about state machines, ThreadPool, asynchronous operations, and methods resuming after await.

    I read the entire post.

    Honestly…

    I understood almost nothing.

    Like many developers, I had a few assumptions in my head:

    • Does async create a new thread?
    • Does await stop the thread?
    • If the method pauses, what exactly is paused?
    • When execution resumes, why doesn’t it immediately execute the next line?
    • If another thread continues the work, how does the program know where to continue?

    The more I thought about it, the more confused I became.

    So I started asking questions.

    The first realization completely changed my understanding:

    async does not create a new thread.

    That surprised me.

    For years, I subconsciously associated async with “background thread.”

    It isn’t.

    async simply tells the compiler that the method contains asynchronous operations and can be paused and resumed.

    Then came the second realization:

    await pauses the method, not the thread.

    That sentence looks simple, but it took me a while to truly understand it.

    Imagine an ASP.NET Core API.

    A request arrives, and a ThreadPool thread starts executing your controller action.

    Eventually, the code reaches this line:

    await _repository.GetCustomerAsync();
    

    The database now needs a few seconds to respond.

    My original assumption was that the thread would just sit there waiting.

    Wrong.

    The thread is released back to the ThreadPool so it can serve another request.

    Your method remembers exactly where it stopped.

    When the database finishes, .NET picks an available thread and continues executing the method from the line after await.

    Another question immediately came to my mind.

    “If execution continues after await, shouldn’t the next line execute immediately?”

    Then I realized something I had completely overlooked.

    Consider this example:

    public async Task SaveCustomerAsync()
    {
        Console.WriteLine("Step 1");
    
        await SaveToDatabaseAsync();
    
        Console.WriteLine("Step 2");
    }
    
    public async Task SaveToDatabaseAsync()
    {
        await Task.Delay(5000);
    
        Console.WriteLine("Database Saved");
    }
    

    Initially, I expected the output to be:

    Step 1
    Step 2
    Database Saved
    

    But that’s not what happens.

    The actual output is:

    Step 1
    Database Saved
    Step 2
    

    Why?

    Because SaveCustomerAsync() isn’t waiting for Task.Delay().

    It’s waiting for the entire SaveToDatabaseAsync() method to finish.

    Only after that method completes does execution continue after its own await.

    That was my “aha!” moment.

    Finally, I understood the role of threads.

    Threads don’t travel with your method.

    They simply execute whatever work is ready.

    When an await is reached:

    • The method pauses.
    • The current thread is released.
    • The asynchronous operation continues elsewhere (such as the database or operating system).
    • When the operation finishes, an available ThreadPool thread resumes the method.

    No thread sits idle.

    No CPU cycles are wasted waiting.

    That’s why async/await improves the scalability of applications like ASP.NET Core APIs.

    Looking back, I realized something important.

    Understanding async/await isn’t about memorizing definitions.

    It’s about asking the right questions.

    Sometimes the biggest breakthrough comes from admitting:

    “I don’t actually understand this yet.”

    And that’s perfectly okay.

    Every experienced developer has been there.

    If this post clears up the same confusion I had, then sharing my learning journey was worth it.

  • Entity Framework vs Entity Framework Core: What’s the Difference?

    Entity Framework vs Entity Framework Core: What’s the Difference?

    Many developers assume Entity Framework (EF6) and Entity Framework Core (EF Core) are simply different versions of the same framework.

    They’re not.

    EF Core was redesigned from the ground up to meet the needs of modern .NET applications. While both are Object-Relational Mappers (ORMs), they differ significantly in architecture, performance, and capabilities.

    Let’s explore the key differences.


    What is Entity Framework (EF6)?

    Entity Framework 6 is the classic ORM designed primarily for the .NET Framework.

    It simplifies database access by allowing developers to work with C# objects instead of writing SQL for every operation.

    EF6 is mature, stable, and still maintained, making it a suitable choice for many existing .NET Framework applications.


    What is Entity Framework Core?

    Entity Framework Core is Microsoft’s modern ORM for .NET (formerly .NET Core).

    It was rewritten with a focus on:

    • Cross-platform support
    • High performance
    • Better extensibility
    • Modern application development
    • Cloud-native workloads

    It powers most new ASP.NET Core applications today.


    Key Differences

    FeatureEntity Framework (EF6)Entity Framework Core
    Target Platform.NET FrameworkModern .NET (.NET 6/7/8/9+)
    Cross-Platform❌ No✅ Yes
    PerformanceGoodBetter for most workloads
    LINQ TranslationMatureMore optimized and actively evolving
    Dependency InjectionLimitedBuilt-in support
    Batch OperationsLimitedImproved support
    MigrationsSupportedMore flexible and actively developed
    Cloud & ContainersLimitedDesigned with modern deployment in mind

    Performance

    EF Core generally performs better because it was designed with performance in mind.

    It includes improvements such as:

    • Faster query execution
    • Better SQL generation
    • More efficient change tracking
    • Compiled queries
    • Split queries for complex object graphs

    These features can make a noticeable difference in high-traffic applications.


    Which One Should You Choose?

    Choose EF6 if:

    • You’re maintaining an existing .NET Framework application.
    • Migrating to modern .NET isn’t currently feasible.
    • The application is stable and doesn’t require new EF Core features.

    Choose EF Core if:

    • You’re starting a new project.
    • You’re building an ASP.NET Core application.
    • You need cross-platform support.
    • Performance and scalability are important.
    • You want access to the latest features and ongoing improvements.

    Migration Considerations

    Migrating from EF6 to EF Core isn’t always a simple package upgrade.

    Some APIs and behaviors differ, and applications with heavy customizations may require code changes and testing.

    Plan the migration carefully and validate functionality before moving to production.


    Final Thoughts

    Both EF6 and EF Core are capable ORMs, but they’re designed for different generations of .NET development.

    • Maintaining a legacy .NET Framework application? EF6 is still a solid choice.
    • Building a modern application? EF Core should be your default choice.

    Technology evolves, and EF Core represents Microsoft’s long-term direction for data access in the .NET ecosystem.

  • Repository Pattern vs Unit of Work in .NET: Do You Really Need Both?

    Repository Pattern vs Unit of Work in .NET: Do You Really Need Both?

    If you’ve worked on ASP.NET Core projects, you’ve probably seen classes like:

    • CustomerRepository
    • OrderRepository
    • UnitOfWork

    But with Entity Framework Core, an important question arises:

    Do we still need Repository and Unit of Work, or is DbContext enough?

    The answer depends on your application’s complexity and architectural goals.


    What Is the Repository Pattern?

    A Repository acts as an abstraction between your business logic and the data access layer.

    Instead of writing database queries throughout your application, all data operations are centralized.

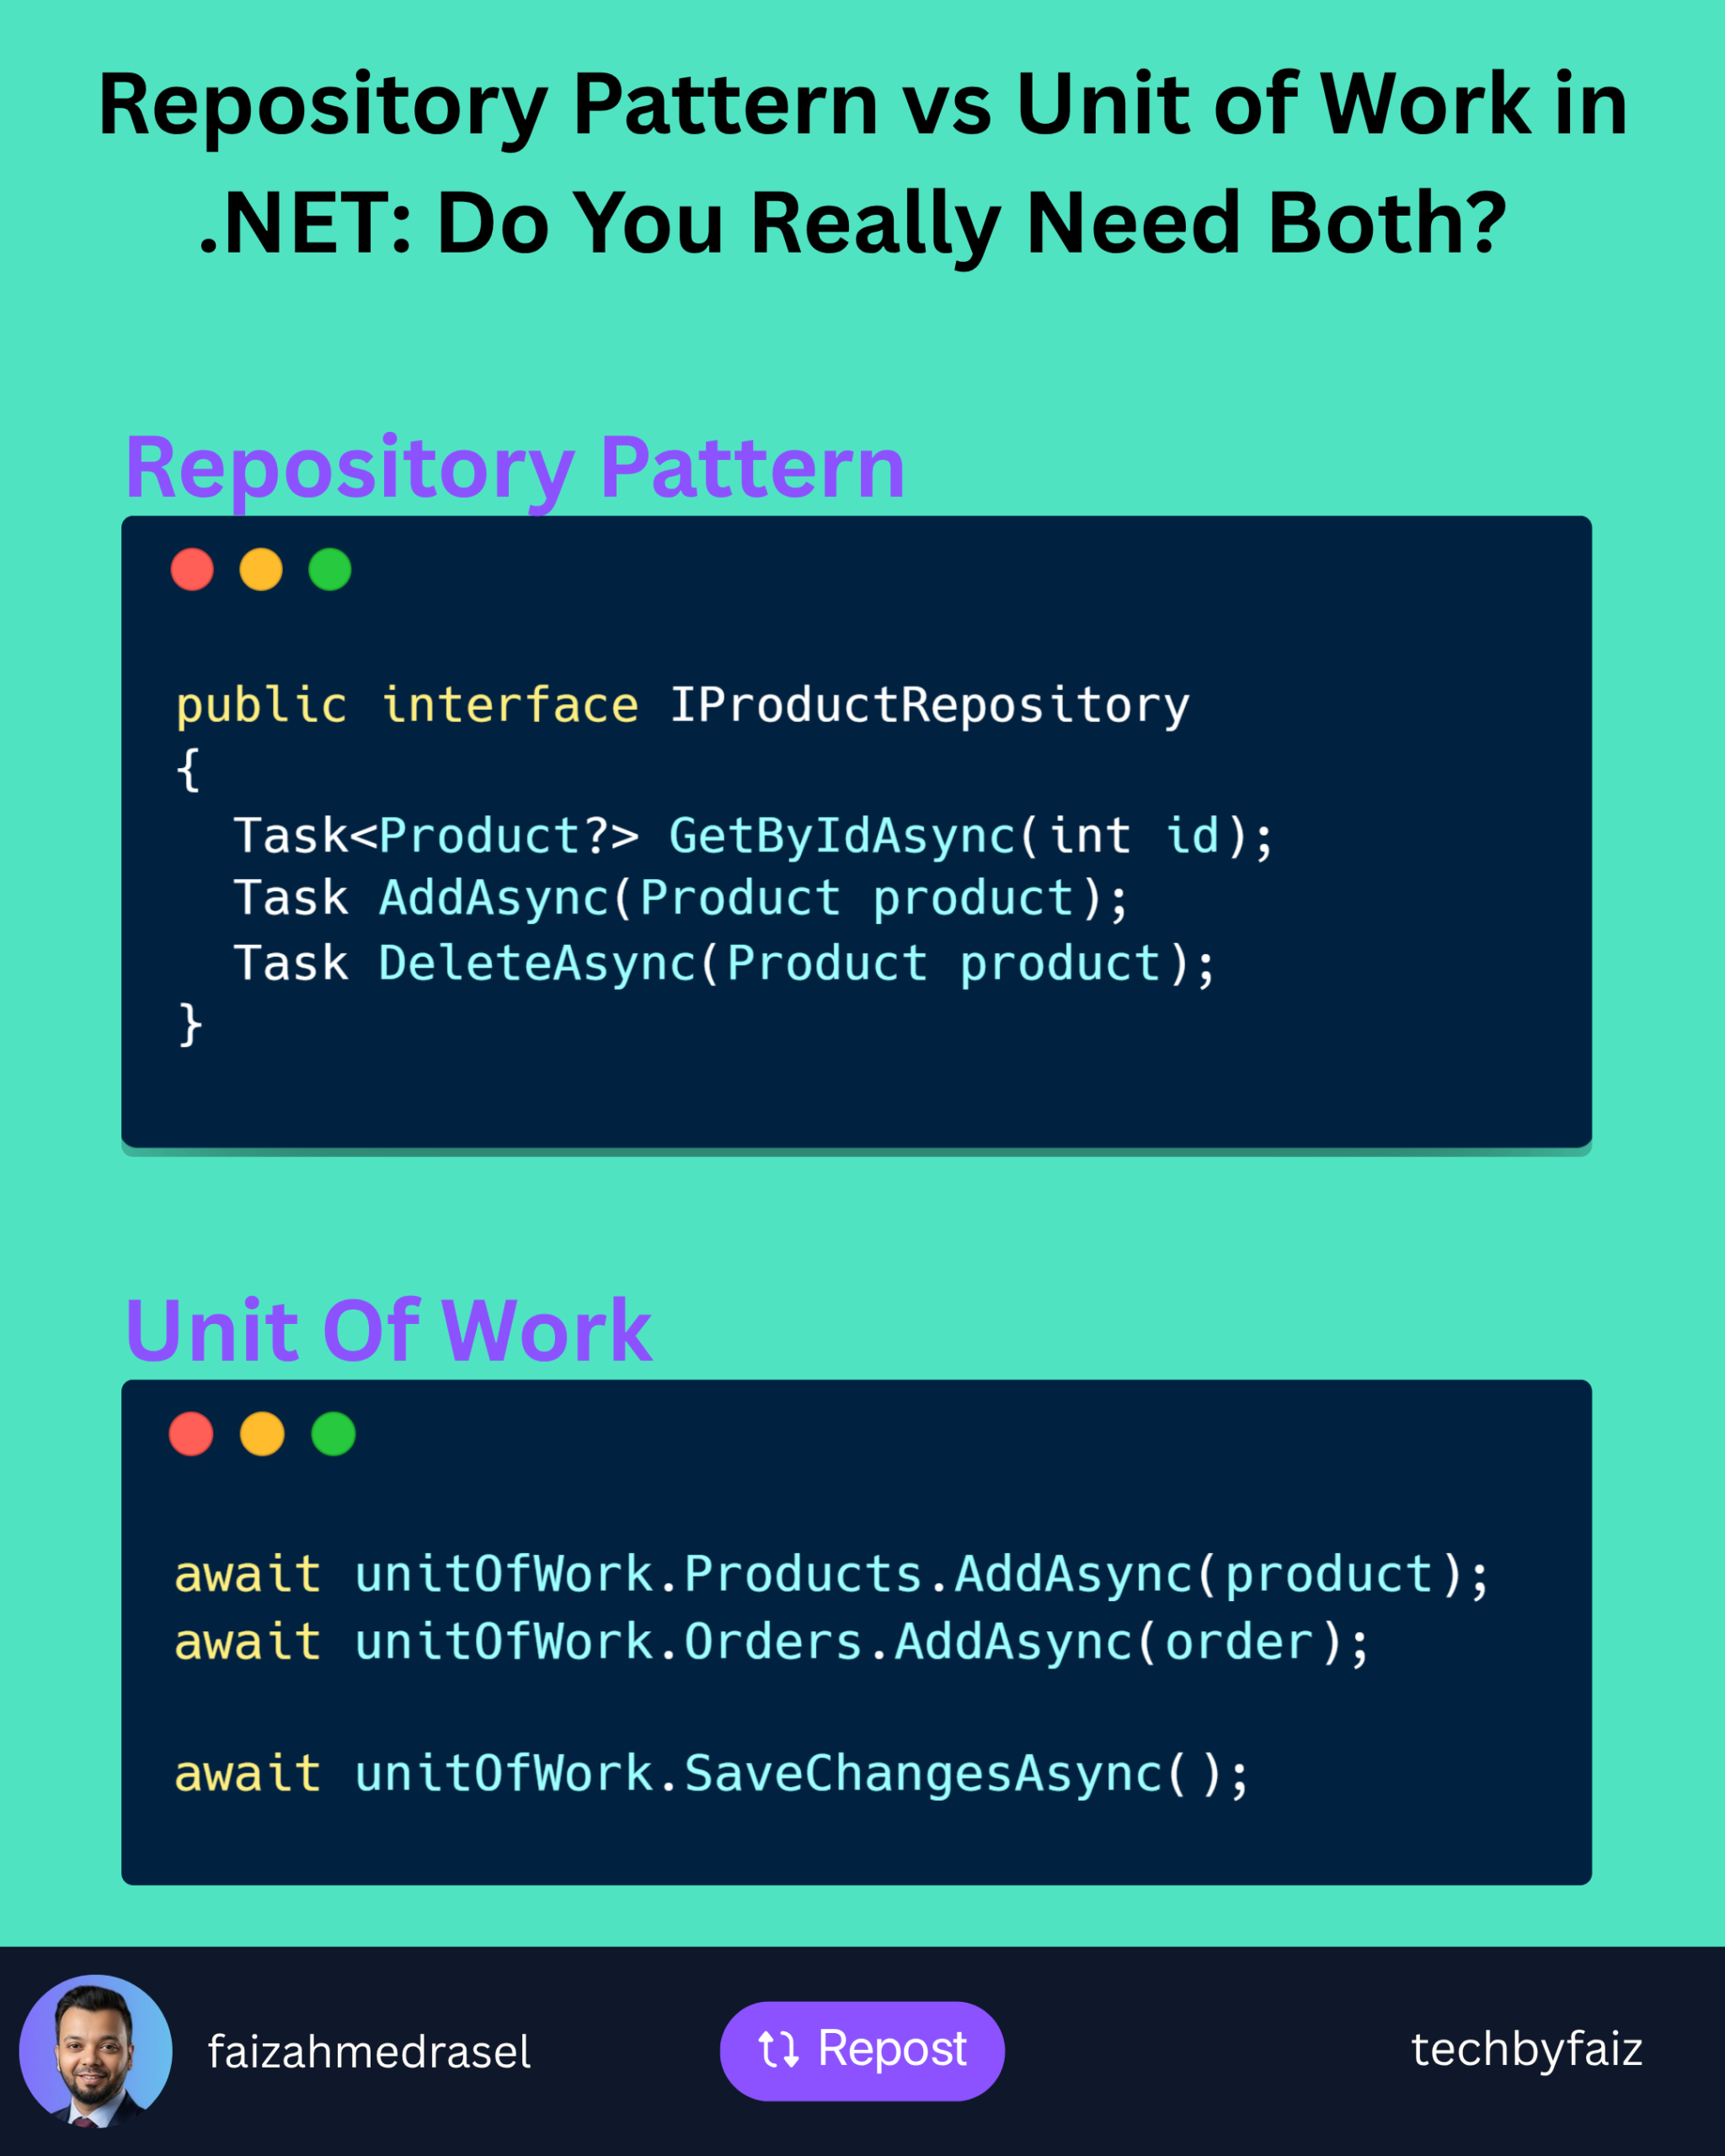
    Example:

    public interface IProductRepository
    {
        Task<Product?> GetByIdAsync(int id);
        Task AddAsync(Product product);
        Task DeleteAsync(Product product);
    }
    

    The service interacts with the repository instead of directly with Entity Framework.

    Benefits

    • Separates business logic from data access.
    • Easier to mock during unit testing.
    • Centralizes reusable queries.
    • Improves maintainability in large projects.

    What Is the Unit of Work Pattern?

    The Unit of Work coordinates multiple repositories so they participate in a single transaction.

    Instead of saving changes after every repository operation, you commit them together.

    Example:

    await unitOfWork.Products.AddAsync(product);
    await unitOfWork.Orders.AddAsync(order);
    
    await unitOfWork.SaveChangesAsync();
    

    If one operation fails, the entire transaction can be rolled back.


    Doesn’t EF Core Already Provide These?

    Yes—and this is where many developers get confused.

    DbSet<T> behaves much like a Repository

    It already provides methods such as:

    • Add()
    • Remove()
    • Find()
    • Update()

    DbContext behaves like a Unit of Work

    It:

    • Tracks entity changes.
    • Coordinates updates.
    • Executes a single SaveChanges() or SaveChangesAsync().
    • Wraps changes in a transaction when appropriate.

    Because of this, many developers consider custom Repository and Unit of Work implementations unnecessary for simple CRUD applications.


    When Should You Use Custom Repository and Unit of Work?

    They make sense when:

    • Your application is large and follows Clean Architecture or Domain-Driven Design (DDD).
    • Multiple data sources need a consistent abstraction.
    • You have complex queries reused across many services.
    • You want to isolate EF Core from the application layer.
    • You anticipate changing the data access technology in the future.

    When Might They Be Unnecessary?

    For smaller applications that use EF Core exclusively, adding generic repositories can introduce extra complexity without much benefit.

    In these cases, injecting DbContext directly into services is often simpler and perfectly acceptable.


    My Rule of Thumb

    • Small to medium CRUD applications: DbContext is usually enough.
    • Large enterprise applications: A well-designed Repository and Unit of Work layer can improve organization, testability, and maintainability.

    The important point isn’t to follow a pattern blindly—it’s to choose the level of abstraction your project actually needs.


    Final Thoughts

    Repository and Unit of Work are valuable patterns, but they’re not mandatory in every ASP.NET Core application.

    EF Core already implements many of their responsibilities.

    Before adding another abstraction layer, ask yourself:

    Does this simplify my application, or does it simply add more code to maintain?

    Good architecture isn’t about using more patterns—it’s about using the right patterns for the problem you’re solving.

  • If-Else vs Ternary Operator in C#: When Should You Use Each?

    If-Else vs Ternary Operator in C#: When Should You Use Each?

    As C# developers, we often need to make decisions in our code.

    Two common ways to do this are:

    • if-else
    • The ternary operator (?:)

    Both achieve the same goal, but choosing the right one can make your code either easier—or harder—to read.

    Let’s explore when each approach is the better choice.

    Using if-else

    The if-else statement is ideal when the logic is more than a simple decision.

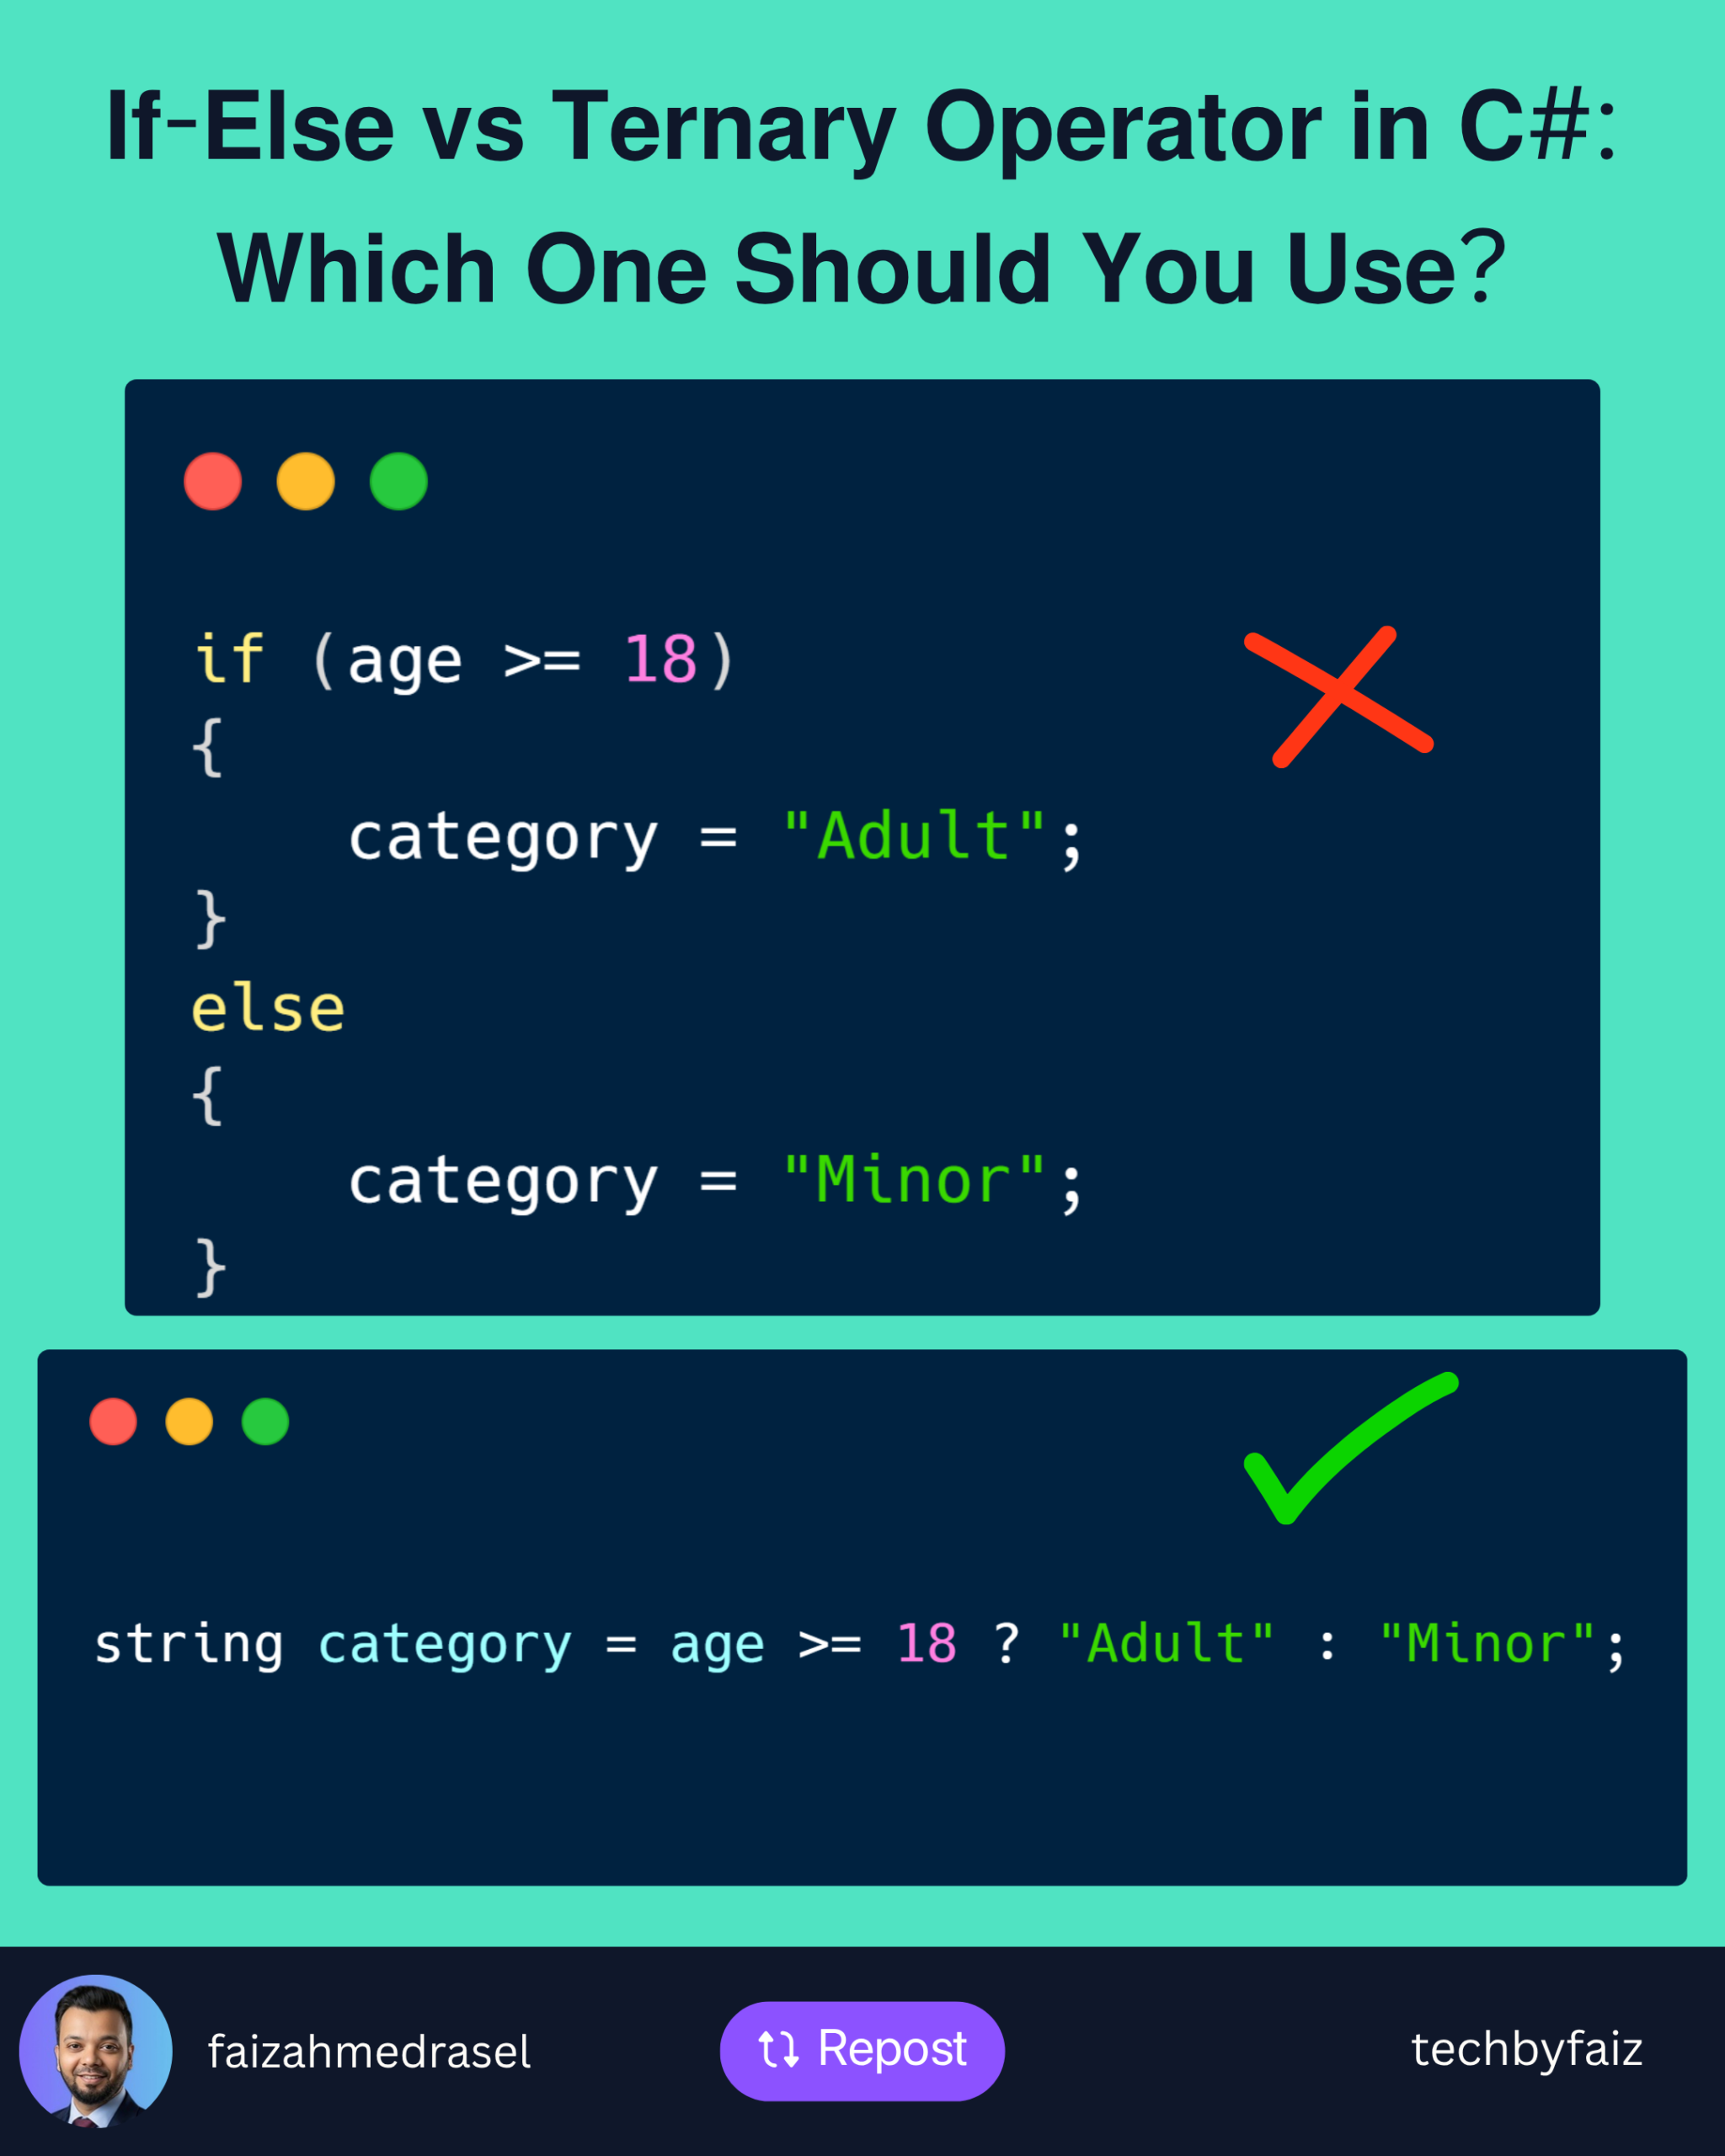
    Example:

    if (age >= 18)
    {
        category = "Adult";
    }
    else
    {
        category = "Minor";
    }
    

    This style is easy to understand, especially when additional conditions or multiple statements are involved.

    When to Use if-else

    Use if-else when:

    • You have multiple statements to execute.
    • The logic is complex.
    • You need nested conditions.
    • Readability is more important than brevity.

    Using the Ternary Operator

    The ternary operator provides a shorter way to assign a value based on a condition.

    Syntax:

    condition ? valueIfTrue : valueIfFalse;
    

    Example:

    string category = age >= 18 ? "Adult" : "Minor";
    

    This is concise, expressive, and easy to read.


    A Good Use Case

    The ternary operator works well for simple value assignments.

    string status = isActive ? "Active" : "Inactive";
    

    Simple.

    Readable.

    No unnecessary lines of code.


    A Bad Use Case

    Avoid chaining multiple ternary operators.

    string result = score >= 80
        ? "Excellent"
        : score >= 60
            ? "Good"
            : score >= 40
                ? "Average"
                : "Fail";
    

    Although valid, this quickly becomes difficult to read and maintain.

    An if-else block communicates the same logic much more clearly.


    Comparison

    ScenarioRecommended
    Simple value assignment✅ Ternary Operator
    Multiple statements✅ If-Else
    Complex business logic✅ If-Else
    Nested conditions✅ If-Else
    Short, readable conditions✅ Ternary Operator

    Best Practices

    ✔ Use the ternary operator only for simple expressions.

    ✔ Prefer if-else for complex decision-making.

    ✔ Avoid deeply nested ternary operators.

    ✔ Prioritize readability over writing fewer lines of code.

    Remember:

    Code is read far more often than it is written.


    Final Thoughts

    The ternary operator is a great tool—but like any tool, it should be used appropriately.

    If it makes your code clearer, use it.

    If it makes someone stop and think, an if-else statement is probably the better choice.

    The goal isn’t to write the shortest code—it’s to write code that’s easy for your future self and your teammates to understand.

  • What If a User Uploads a Dangerous File to Your Server? Here’s How to Prevent It.

    What If a User Uploads a Dangerous File to Your Server? Here’s How to Prevent It.

    File upload is one of the most common features in web applications—but it’s also one of the most targeted by attackers.

    Imagine a user uploads a file named:

    invoice.pdf.exe
    

    Or renames a malicious executable to:

    resume.pdf
    

    If your application trusts only the file name or extension, you could expose your server to serious security risks.

    A secure file upload system should never rely on a single validation step.

    1. Validate the File Extension

    Allow only the file types your application actually needs.

    Example:

    • ✅ .pdf
    • ✅ .jpg
    • ✅ .png
    • ✅ .docx

    Reject everything else.

    Remember: This is your first line of defense—not your only one.


    2. Verify the MIME Type

    Don’t trust the extension alone.

    Check the file’s MIME type sent by the client.

    For example:

    • application/pdf
    • image/jpeg
    • image/png

    Keep in mind that MIME types can also be spoofed, so continue with additional checks.


    3. Validate the File Signature (Magic Numbers)

    The most reliable validation is checking the file’s binary signature.

    For example:

    • PDF → %PDF
    • PNG → 89 50 4E 47
    • JPEG → FF D8 FF

    If the file signature doesn’t match the expected format, reject the upload.


    4. Limit File Size

    Prevent attackers from uploading extremely large files.

    Example:

    • Images: 5 MB
    • Documents: 20 MB

    This reduces the risk of storage abuse and denial-of-service attacks.


    5. Rename Uploaded Files

    Never store files using the original filename.

    Instead, generate a unique name.

    Example:

    3b8b2d1d-ef7d-4db2-8a8c-0f5d91a0f4a7.pdf
    

    This avoids filename collisions and reduces information disclosure.


    6. Store Files Outside the Web Root

    Avoid storing uploaded files in directories that can execute code.

    Instead:

    • Store files outside the web root.
    • Serve them through a controller or API after authorization.

    This prevents direct execution of uploaded files.


    7. Scan for Malware

    Integrate an antivirus solution to scan uploaded files before making them available.

    This is especially important for systems that accept documents from external users.


    8. Restrict File Permissions

    Uploaded files should never have execute permissions.

    Grant only the minimum permissions required to read or write the file.


    9. Authorize Access

    Not every uploaded file should be publicly accessible.

    Always verify that the requesting user has permission to download or view the file.


    10. Log Upload Activity

    Record important details such as:

    • User ID
    • IP address
    • File name
    • File size
    • Upload time
    • Validation failures

    Logs help detect suspicious activity and support incident investigations.


    Final Thoughts

    Secure file uploads are about defense in depth.

    Don’t rely on a single validation.

    A robust upload pipeline should include:

    • Extension validation
    • MIME type verification
    • File signature checks
    • Size limits
    • Malware scanning
    • Secure storage
    • Proper authorization

    Security isn’t a single feature—it’s a combination of small decisions that work together to protect your application.